The Shell Action enables the execution of any command
(batch or executable file) from the workflow. When this action is included in
the workflow it executes the shell command and captures the output of this
process. The parameters for the command can be specified using the 'Parameter'
property. The captured output can be used to determine the path for the
workflow, i.e. the Shell action allows conditional execution. If the output of
the command to be executed does not help in conditional execution, the resource
can opt not to capture the output by using the 'Ignore Return Values' property.
If the resource chooses to ignore return values, then the command will be
executed asynchronously.
The Properties defined for the
Shell action are explained in the table below.
|
Property
|
Description
|
|
Command
|
This is the command that is to be run. If the path is not specified in the
environment variables for the executable, then the executable file name should
be specified here with the full path.
|
|
Parameter
|
This is the set of parameters that are to be passed to the executable.
|
|
Ignore Return Values
|
This property specifies whether the output of the process is to be captured or
not. If the value ‘Yes’ is selected, then the process will be spawned
asynchronously and the workflow engine will not wait for the process to
terminate. If the value ‘No’ is selected, then the shell handler will execute
the command (or executable) and capture the output. The workflow engine will
not proceed until the process terminates.
|
|
Return Values
|
The valid output from the command (or executable). When the return values are
included i.e. the Ignore Return Values property is set to 'No', these values
become the conditions for the workflow engine to pick up the next action to
execute. When an action is associated with a condition, it will be executed
only if the output of the Shell handler is equal to the condition.
|
|
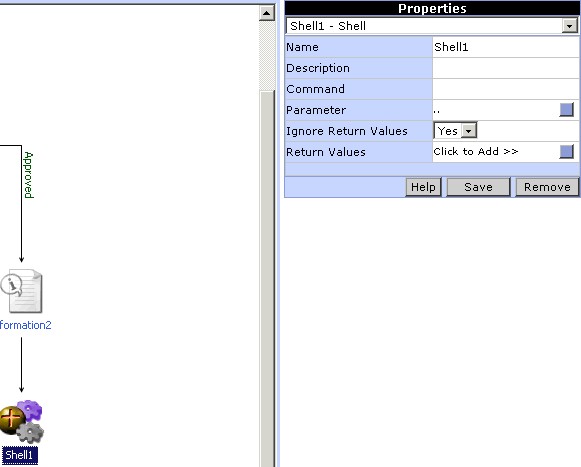
Property settings for Shell
|
To add the Shell action to the
workflow, click on the button for Shell in the Toolbox area. An icon for Shell
is added automatically in the Design Area. Link this action appropriately with
the workflow. To set the properties for Shell click on the Shell icon. A list
of properties for the Shell action will be displayed in the
Properties pane. Enter an appropriate name and description for the
Shell command and set all the properties.
|
|
| Fig 1. Shell properties (Top)
|
To specify the parameter, click on
the button for the 'Parameter' property. A window pops up (Fig
2.), in which the parameter can be specified. Select a type of value
(Value, Variable, Content) and the corresponding value for the property and
then click the Append button. After specifying the parameter click the Update
button.
|

|
| Fig 2. Shell parameters(Top)
|
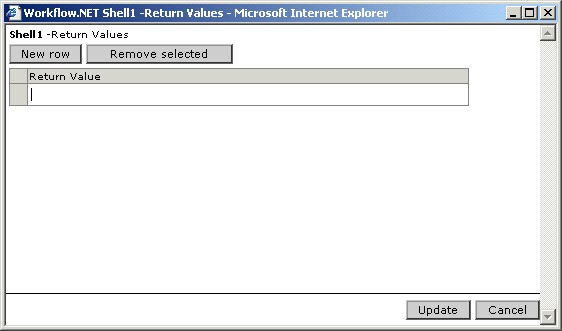
To specify the return value, click
on the button for the 'Return Values' property. A window pops up (Fig
3.), in which the return value(s) can be specified. Click the Remove
selected button to clear earlier values. Enter the return value in the
'Return Value' field. Click the New row button to add additional rows of
return values. After specifying the return value, click the Update button.
|
|
| Fig 3. Shell return values(Top)
|